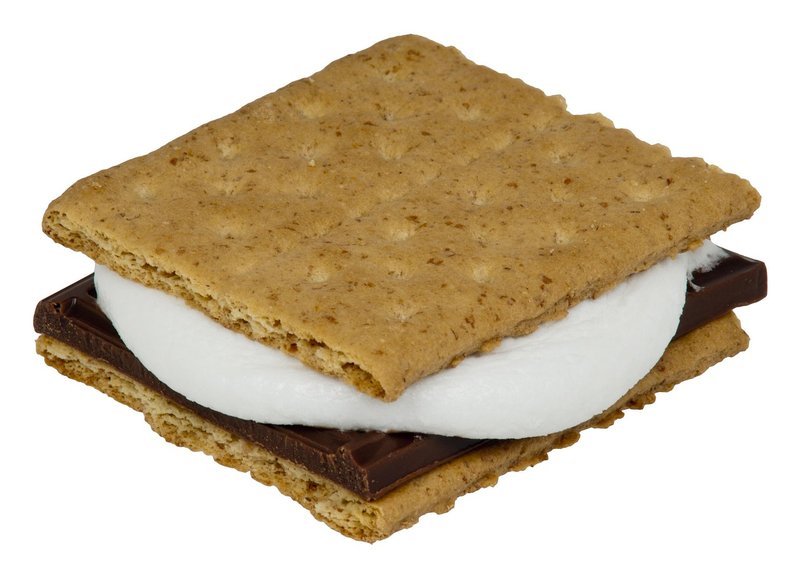
S'mores Bars
Prep: 15 mins | Cook: PT0S | Total: 2 hrs | Serves: 12 | Cuisine: American
After a long day, satisfying that sweet tooth can sometimes feel like a daunting task, especially when you want to whip up something quick and delightful for your family. That’s where these irresistible S'mores Bars come into play! Imagine a chewy cookie base infused with crushed graham crackers, topped with luscious layers of Hershey bars and fluffy mini marshmallows. These bars capture all the nostalgic flavors of a classic campfire treat, but without the hassle of outdoor cooking.
With just a handful of pantry staples like all-purpose flour, unsalted butter, and a sprinkle of kosher salt, you can create a dessert that feels indulgent yet simple. Plus, they come together in no time—perfect for those busy weeknights when you want to impress without breaking a sweat. So grab your ingredients, and let’s transform your kitchen into a cozy snack haven with these delightful S'mores Bars that are sure to become a family favorite!
S'mores Bars
Instructions
Step 1
To kick things off, grab your 9" x 9" baking dish and give it a good coat of cooking spray. This will help the bars release easily later. Next, take a piece of parchment paper and line the bottom of the dish, allowing some overhang on the sides. This little trick will make lifting the bars out a breeze once they’re baked.
Now, let’s move to the mixing! In a medium bowl, combine your all-purpose flour, crushed graham crackers, a pinch of salt, and baking soda. Use a whisk or a fork to blend everything together until it’s evenly mixed. You want a nice, uniform texture to ensure every bite of your S'mores Bars is deliciously balanced. Once that's done, set the bowl aside while you prepare the next steps.
Step 2
In a large mixing bowl, start by adding your softened butter, brown sugar, and granulated sugar. Using your handheld mixer on medium-high speed, beat the mixture together until it’s smooth and creamy—this should take about 2 to 3 minutes. As you mix, keep an eye out for a fluffy texture that’s light in color.
Next, crack in the egg and pour in the vanilla extract. Continue to beat the mixture until everything is well combined, which should take another minute or so. You want to see that lovely glossy finish forming.
Now it’s time to incorporate the dry ingredients. Gradually add them to the bowl and mix until just a few dry streaks remain—don’t overmix here! Finally, fold in the chocolate chips, chopped graham crackers, and marshmallows with a spatula, mixing gently until everything is combined but still chunky. You’re going to love how colorful and inviting it looks!
Step 3
Now it’s time to create a delicious layer of sweetness! Take about two-thirds of your prepared cookie dough and gently press it into the bottom of your greased dish. Use your fingers or the back of a spatula to spread it evenly, making sure it covers the bottom fully. You want it to form a nice, compact base that will hold everything together.
Once you’ve got that even layer, grab your Marshmallow Fluff. Spoon it out over the cookie dough layer, spreading it carefully all the way to the edges. Don’t worry if it gets a little sticky—just take your time to make sure it’s evenly distributed. This fluffy layer will melt beautifully when baked, creating that classic s’mores experience we all love!
Step 4
Once your Fluff layer is ready, it's time to scoop out the remaining cookie dough. Take about 2 tablespoons of dough for each piece and gently flatten it in your hands. You don’t need to stress about making them perfect—an imperfect shape adds to the charm!
Carefully place the flattened dough pieces over the Fluff, leaving some spots uncovered. This will create a delightful contrast in texture and flavor once baked. Once you’ve arranged the dough, pop the dish into the freezer. You’ll want to let it chill for at least 45 minutes, but it’s perfectly fine to leave it overnight if you’re preparing ahead. This step helps the dough firm up, ensuring your bars hold together beautifully when baked.
Step 5
Now that your oven is preheated to 350°F, it’s time to bake those delicious S’mores Bars. Place the pan in the center of the oven and let it bake from frozen. Keep an eye on it; you want the edges to feel set while the center remains slightly soft. After about 45 to 50 minutes, you should see a lovely golden brown color forming on top. Once done, remove the pan from the oven and allow it to cool slightly. This step is crucial as it helps the bars firm up a bit more before you dig in!
Step 6
Once your s'mores bars have cooled completely, it's time to cut them into squares. Start by using the parchment paper that hangs over the edges of your baking dish. Gently lift the entire slab out of the pan and place it onto a cutting board.
Now, grab a sharp knife and cut the bars into squares or rectangles, depending on your preference. I find that a little bit of warm water on the knife helps make those clean cuts without sticking. As you slice through the golden, gooey layers, take a moment to appreciate your creation! The smell alone is enough to make anyone's mouth water. Enjoy every bite!
Nutrition Information
calories: 350 kcal
fat: 20g
carbs: 40g
protein: 3g
fiber: 1g
My Tip
For perfectly gooey S'mores Bars, make sure to press the cookie dough firmly into the baking dish before adding the Marshmallow Fluff. This helps create a sturdy base that holds everything together and ensures the bars slice neatly after baking.
Leftovers
To keep your S'mores Bars fresh and that delightful crust crispy, store leftovers in an airtight container at room temperature for up to 3 days. When you're ready to enjoy them again, pop them in the microwave for about 10-15 seconds to warm them up just right!
Make It Your Own
For a delightful twist on your S'mores Bars, try swapping the all-purpose flour for almond flour to give it a nutty flavor and make it gluten-free. This change will add a lovely texture while still keeping that classic s'mores taste!


