Crispy Skillet-Fried Chicken: The Ultimate Southern Recipe
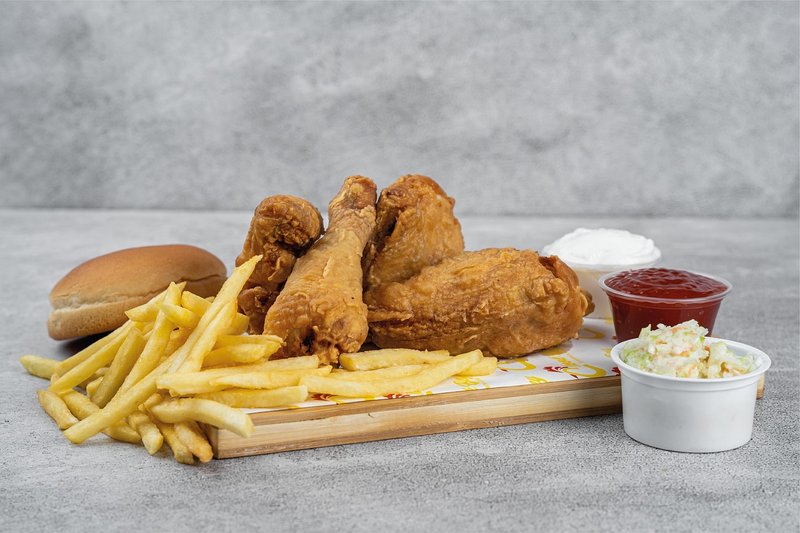
Skillet-Fried Chicken
Skillet-Fried Chicken
Ingredients
- One 3½–4-lb. chicken, broken down into 10 parts (discard wing tips and backbone)
- 2 Tbsp. Diamond Crystal kosher salt (or 1 Tbsp. + ½ tsp. Morton), split
- 1 Tbsp. black pepper, freshly ground
- 1½ tsp. paprika
- ¾ tsp. cayenne
- ½ tsp. powdered garlic
- ½ tsp. powdered onion
- 1 large egg
- 2 cups of buttermilk
- 3 cups flour, all-purpose
- 3–4 cups peanut oil for frying
- deep-fry thermometer
Instructions
Step 1
Grab a medium bowl and add your chicken pieces. We want to make sure the backbone and wing tips are gone so the meat cooks evenly. Now, let's get that seasoning ready. Sprinkle in the salt, black pepper, paprika, cayenne, garlic powder, and onion powder, then toss everything together until every inch of the chicken is well-coated. Cover the bowl tightly and pop it in the fridge. Let it chill for at least 45 minutes, though you can leave it for up to 12 hours if you have the patience for a deeper flavor.
Step 2
Grab a medium bowl and whisk together the egg, buttermilk, and water until the mixture is smooth and well combined. In a separate medium bowl, stir the flour and your chosen salt together. Make sure the salt is evenly distributed so every piece of chicken gets that savory, seasoned crunch.
Step 3
Set up your station by placing a wire rack inside a rimmed baking sheet; this keeps the chicken elevated so the coating stays crisp. To keep things tidy, use your left hand for the buttermilk and your right hand for the flour. Dip a piece of chicken into the buttermilk, letting any extra liquid drip off before pressing it firmly into the seasoned flour. Give the piece a little shake to remove the loose flour, then dip it back into the buttermilk and flour one more time. This double-dredging technique is what gives us those beautiful, craggy ridges that get extra crunchy in the pan. Place each piece on the wire rack and let them hang out at room temperature for about 15 minutes. You'll notice the flour starting to look a bit "tacky" or damp, which means the coating is hydrating and will stick to the chicken instead of peeling off during frying.
Step 4
While your chicken rests, let's get your frying station ready. Set a second wire rack inside a rimmed baking sheet so you have a place to drain the chicken later. Now, pour your peanut oil into a heavy, straight-sided cast-iron skillet until it fills the pan about ¾ of an inch deep. You'll likely need 3 to 4 cups of oil. Carefully prop your deep-fry thermometer in the oil, making sure the bulb is fully submerged but not touching the bottom of the pan. Heat everything over medium-high until the thermometer hits exactly 350°F.
Step 5
Carefully place five pieces of chicken into your hot oil. Use your tongs to flip the pieces every minute or two so we get an even, beautiful color on all sides. Keep an eye on your thermometer to make sure the oil stays between 300° and 325°. If it starts to climb too high, just nudge the heat down a bit to keep things steady. You'll know you're getting close when that skin turns a gorgeous deep golden brown. Wings usually take about 12 minutes, while thighs, legs, and breasts need around 15 minutes. To be absolutely sure they're ready, poke your instant-read thermometer into the thickest part of the meat. Once it hits 160°, you've got perfectly juicy chicken!
Step 6
Carefully lift each piece of chicken from the hot oil using tongs. Let the excess oil drip back into the pan for a few seconds so your crust stays wonderfully crisp. Move the pieces to a second wire rack to keep them from steaming. Keep frying the rest of your batch until every piece is a deep golden brown and reaches an internal temperature of 165°F. Now comes the hardest part: let your chicken rest for at least 10 minutes. This ensures the juices redistribute, leaving you with a tender, juicy bite.
Nutrition Information
My Tip
Make sure you let your breaded chicken rest on the rack for those full 15 minutes. This gives the flour and buttermilk time to hydrate, which helps that beautiful crust stay attached to the meat instead of peeling off in the pan.
Leftovers
Keep your chicken in a sealed container in the fridge for up to four days. To get that golden crust back, reheat your pieces in a 350°F oven until they're hot and crispy.
Make It Your Own
Try swapping the paprika and cayenne for a tablespoon of smoked paprika and a pinch of cumin. This gives your chicken a lovely smoky, Southwestern vibe that pairs great with a side of lime wedges.